

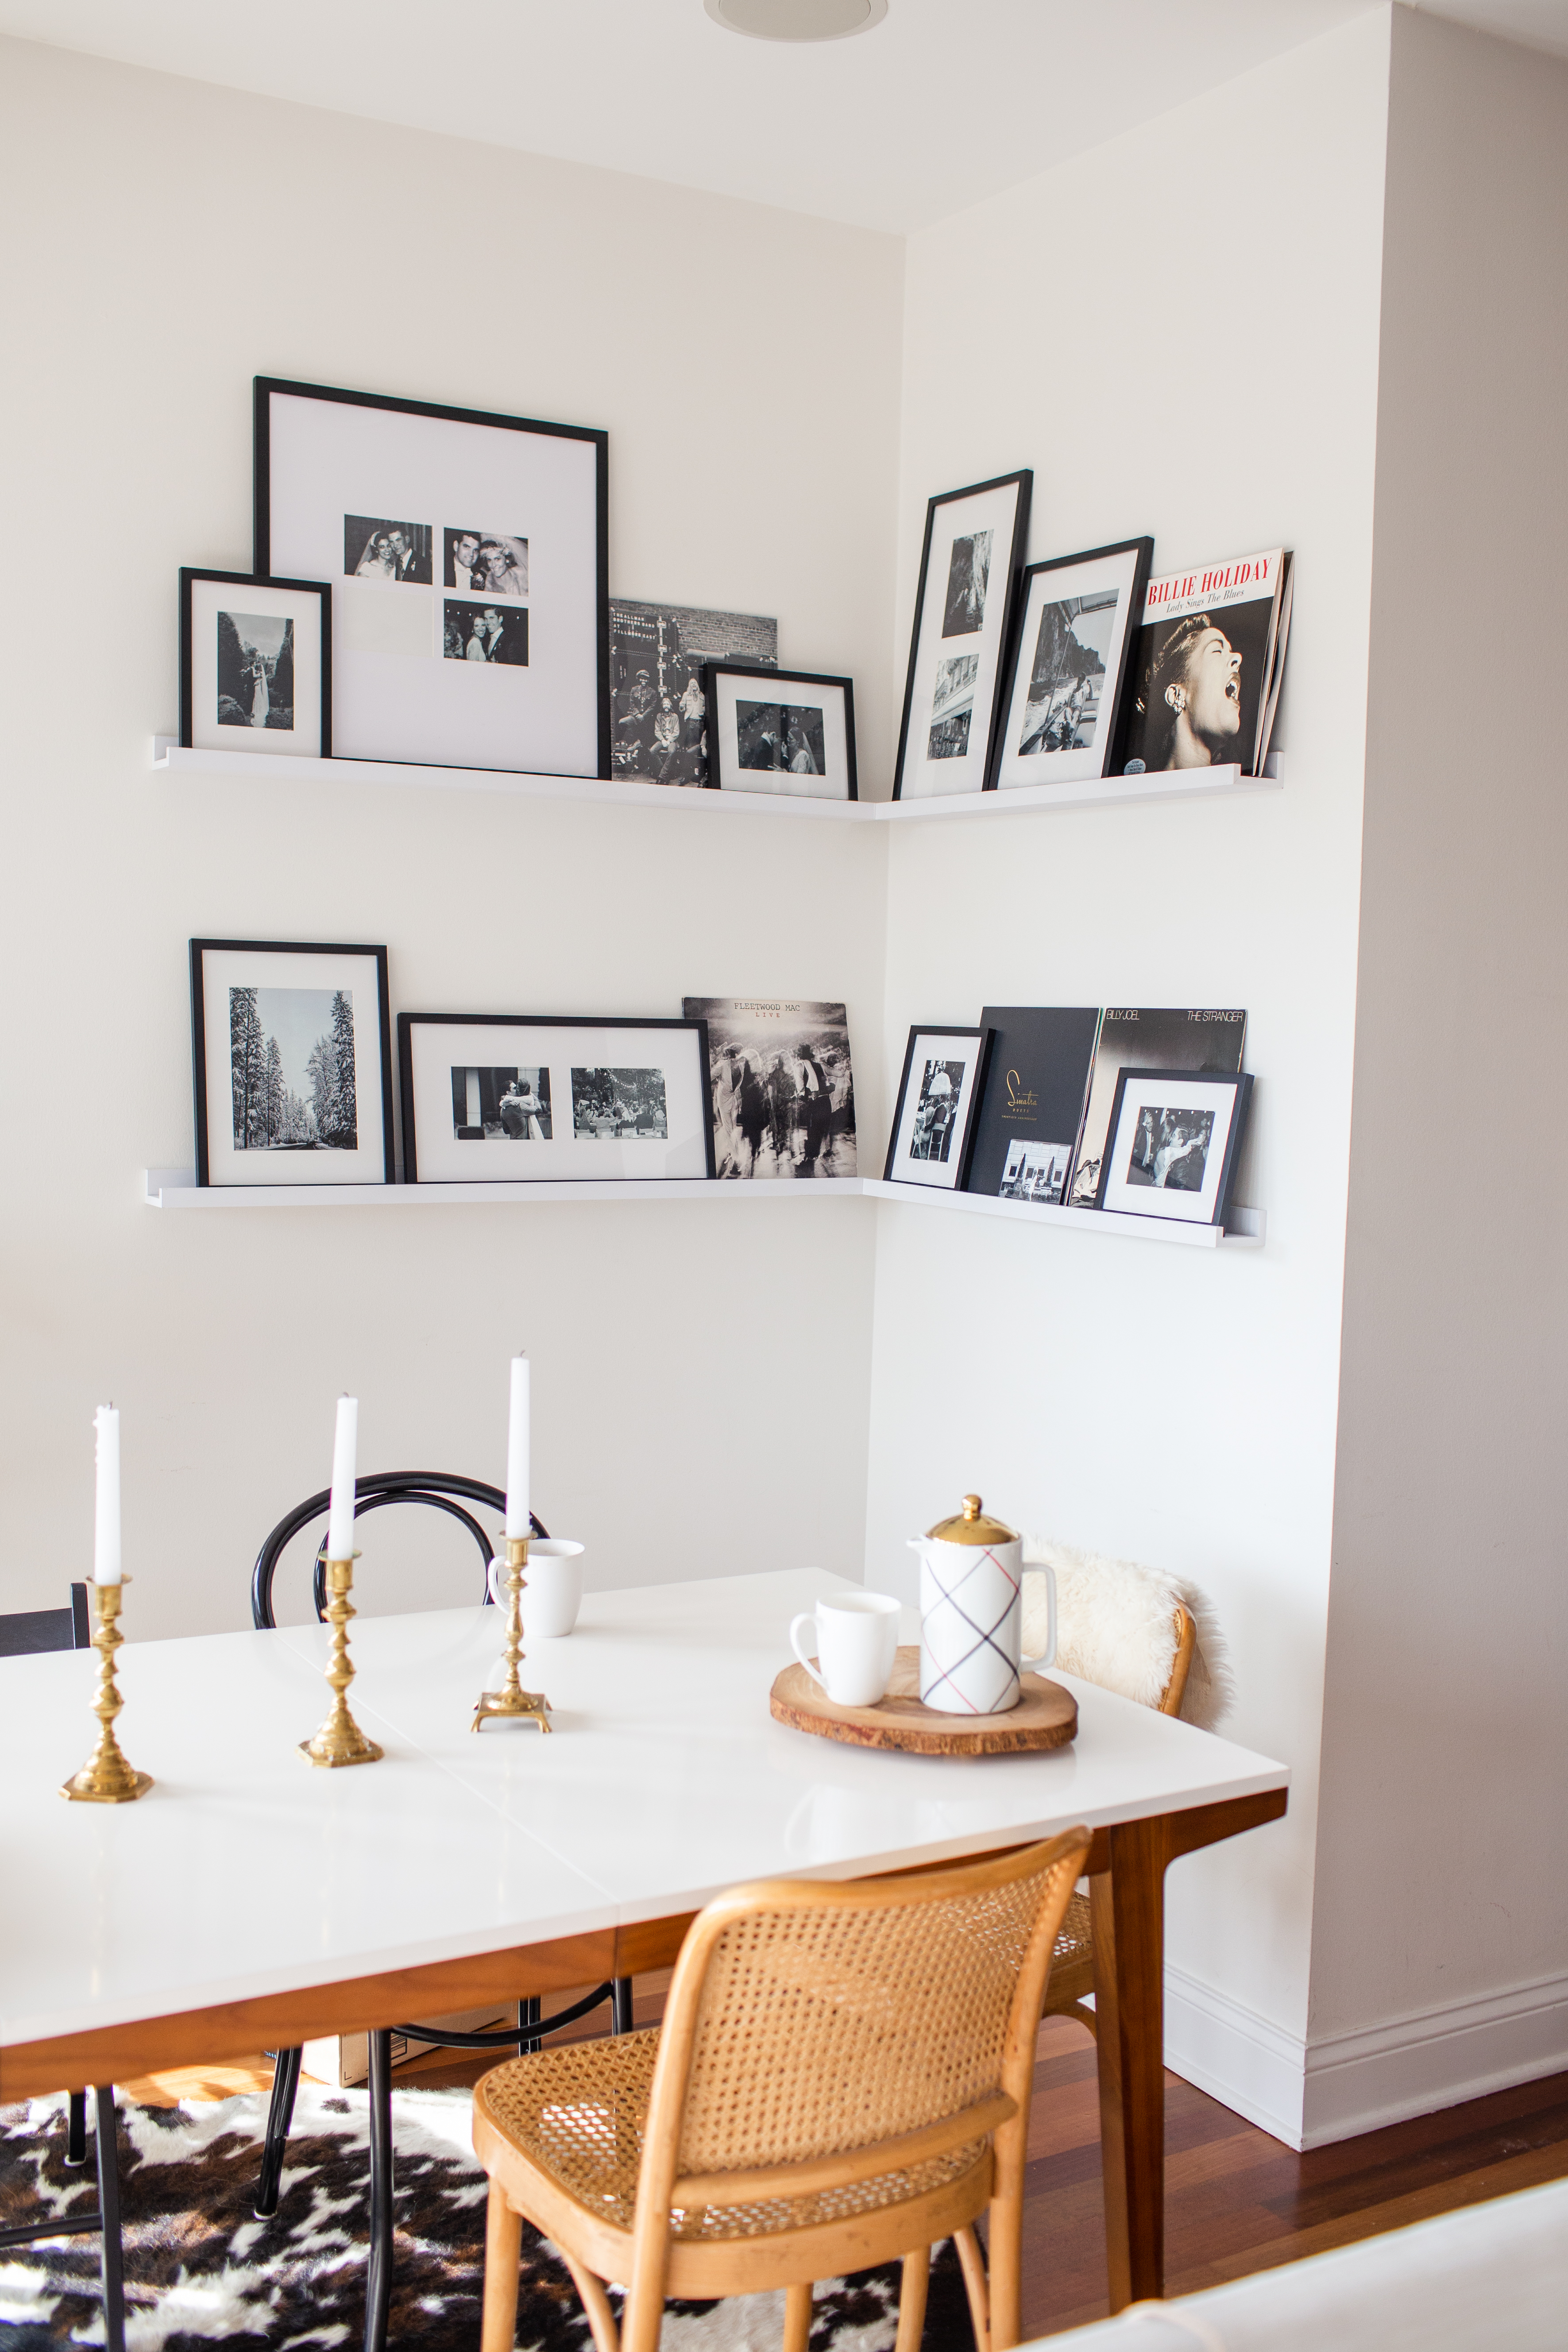
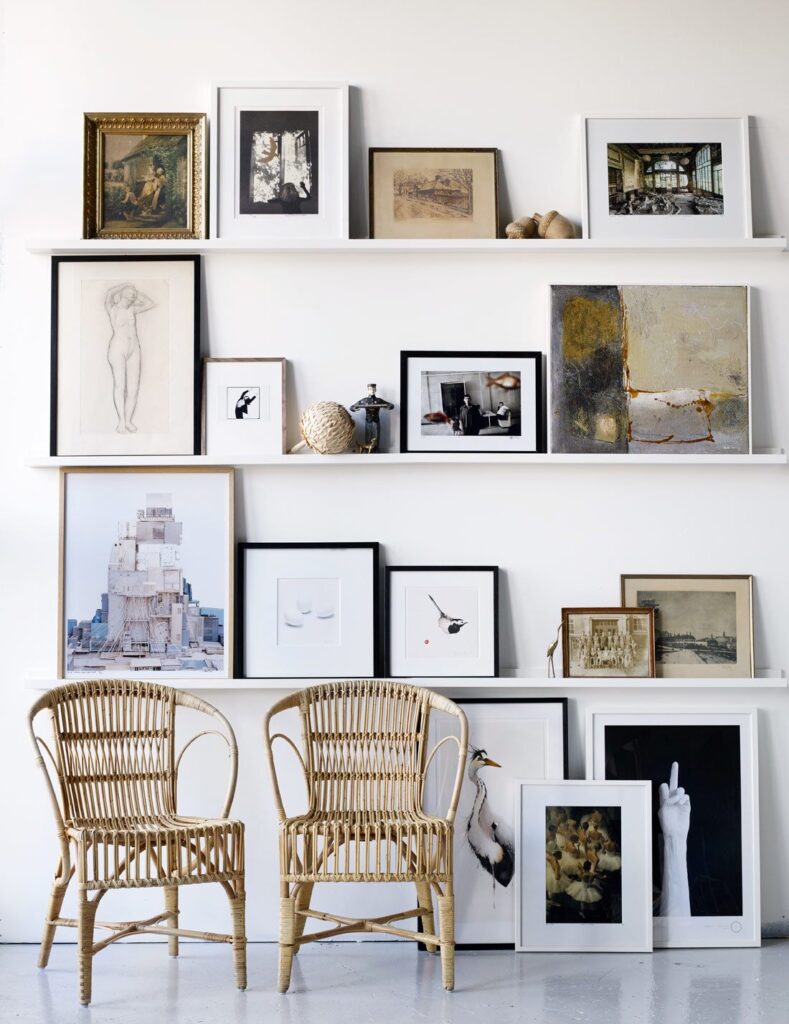
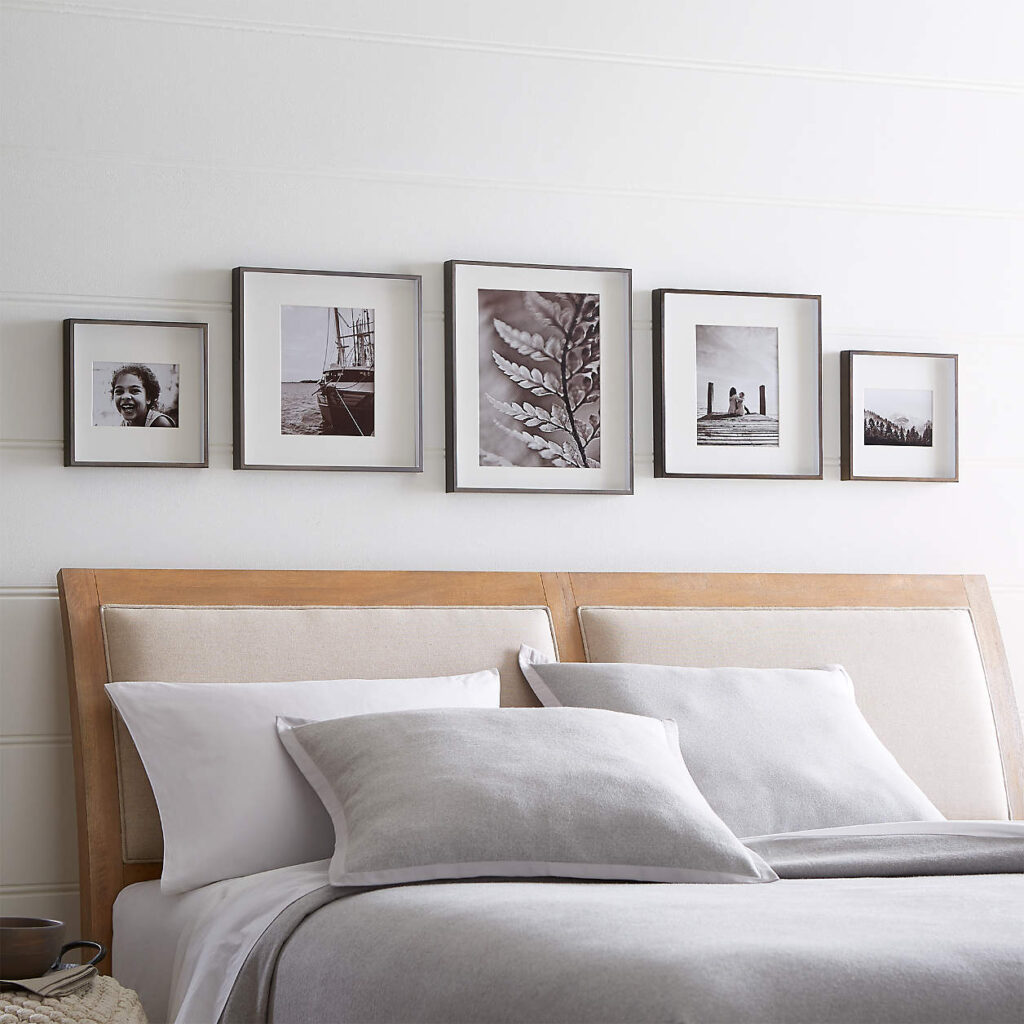
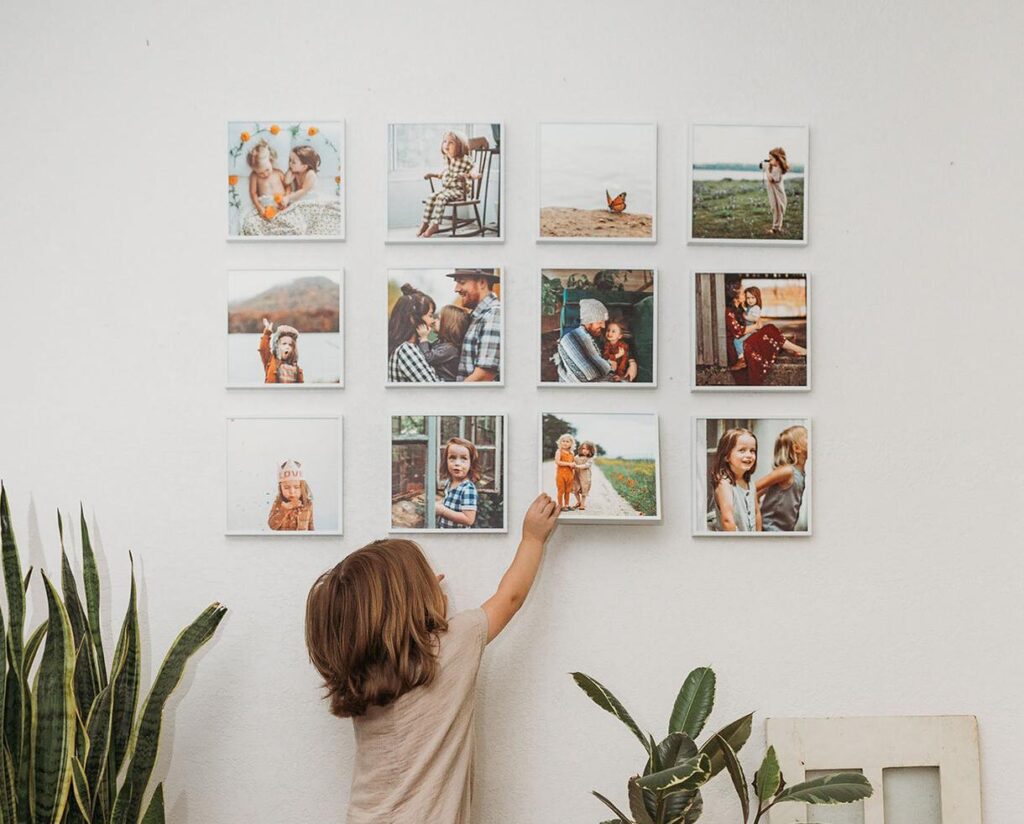
Have you ever seen a beautiful photo gallery wall like the one pictured above and thought to yourself “I wanna do that!”, but you’re not sure where to start and it all just seems a bit overwhelming? I GOT YOU. This post will walk you through what you need in order to accomplish whatever “vibe” you’re looking for when creating your photo gallery wall.
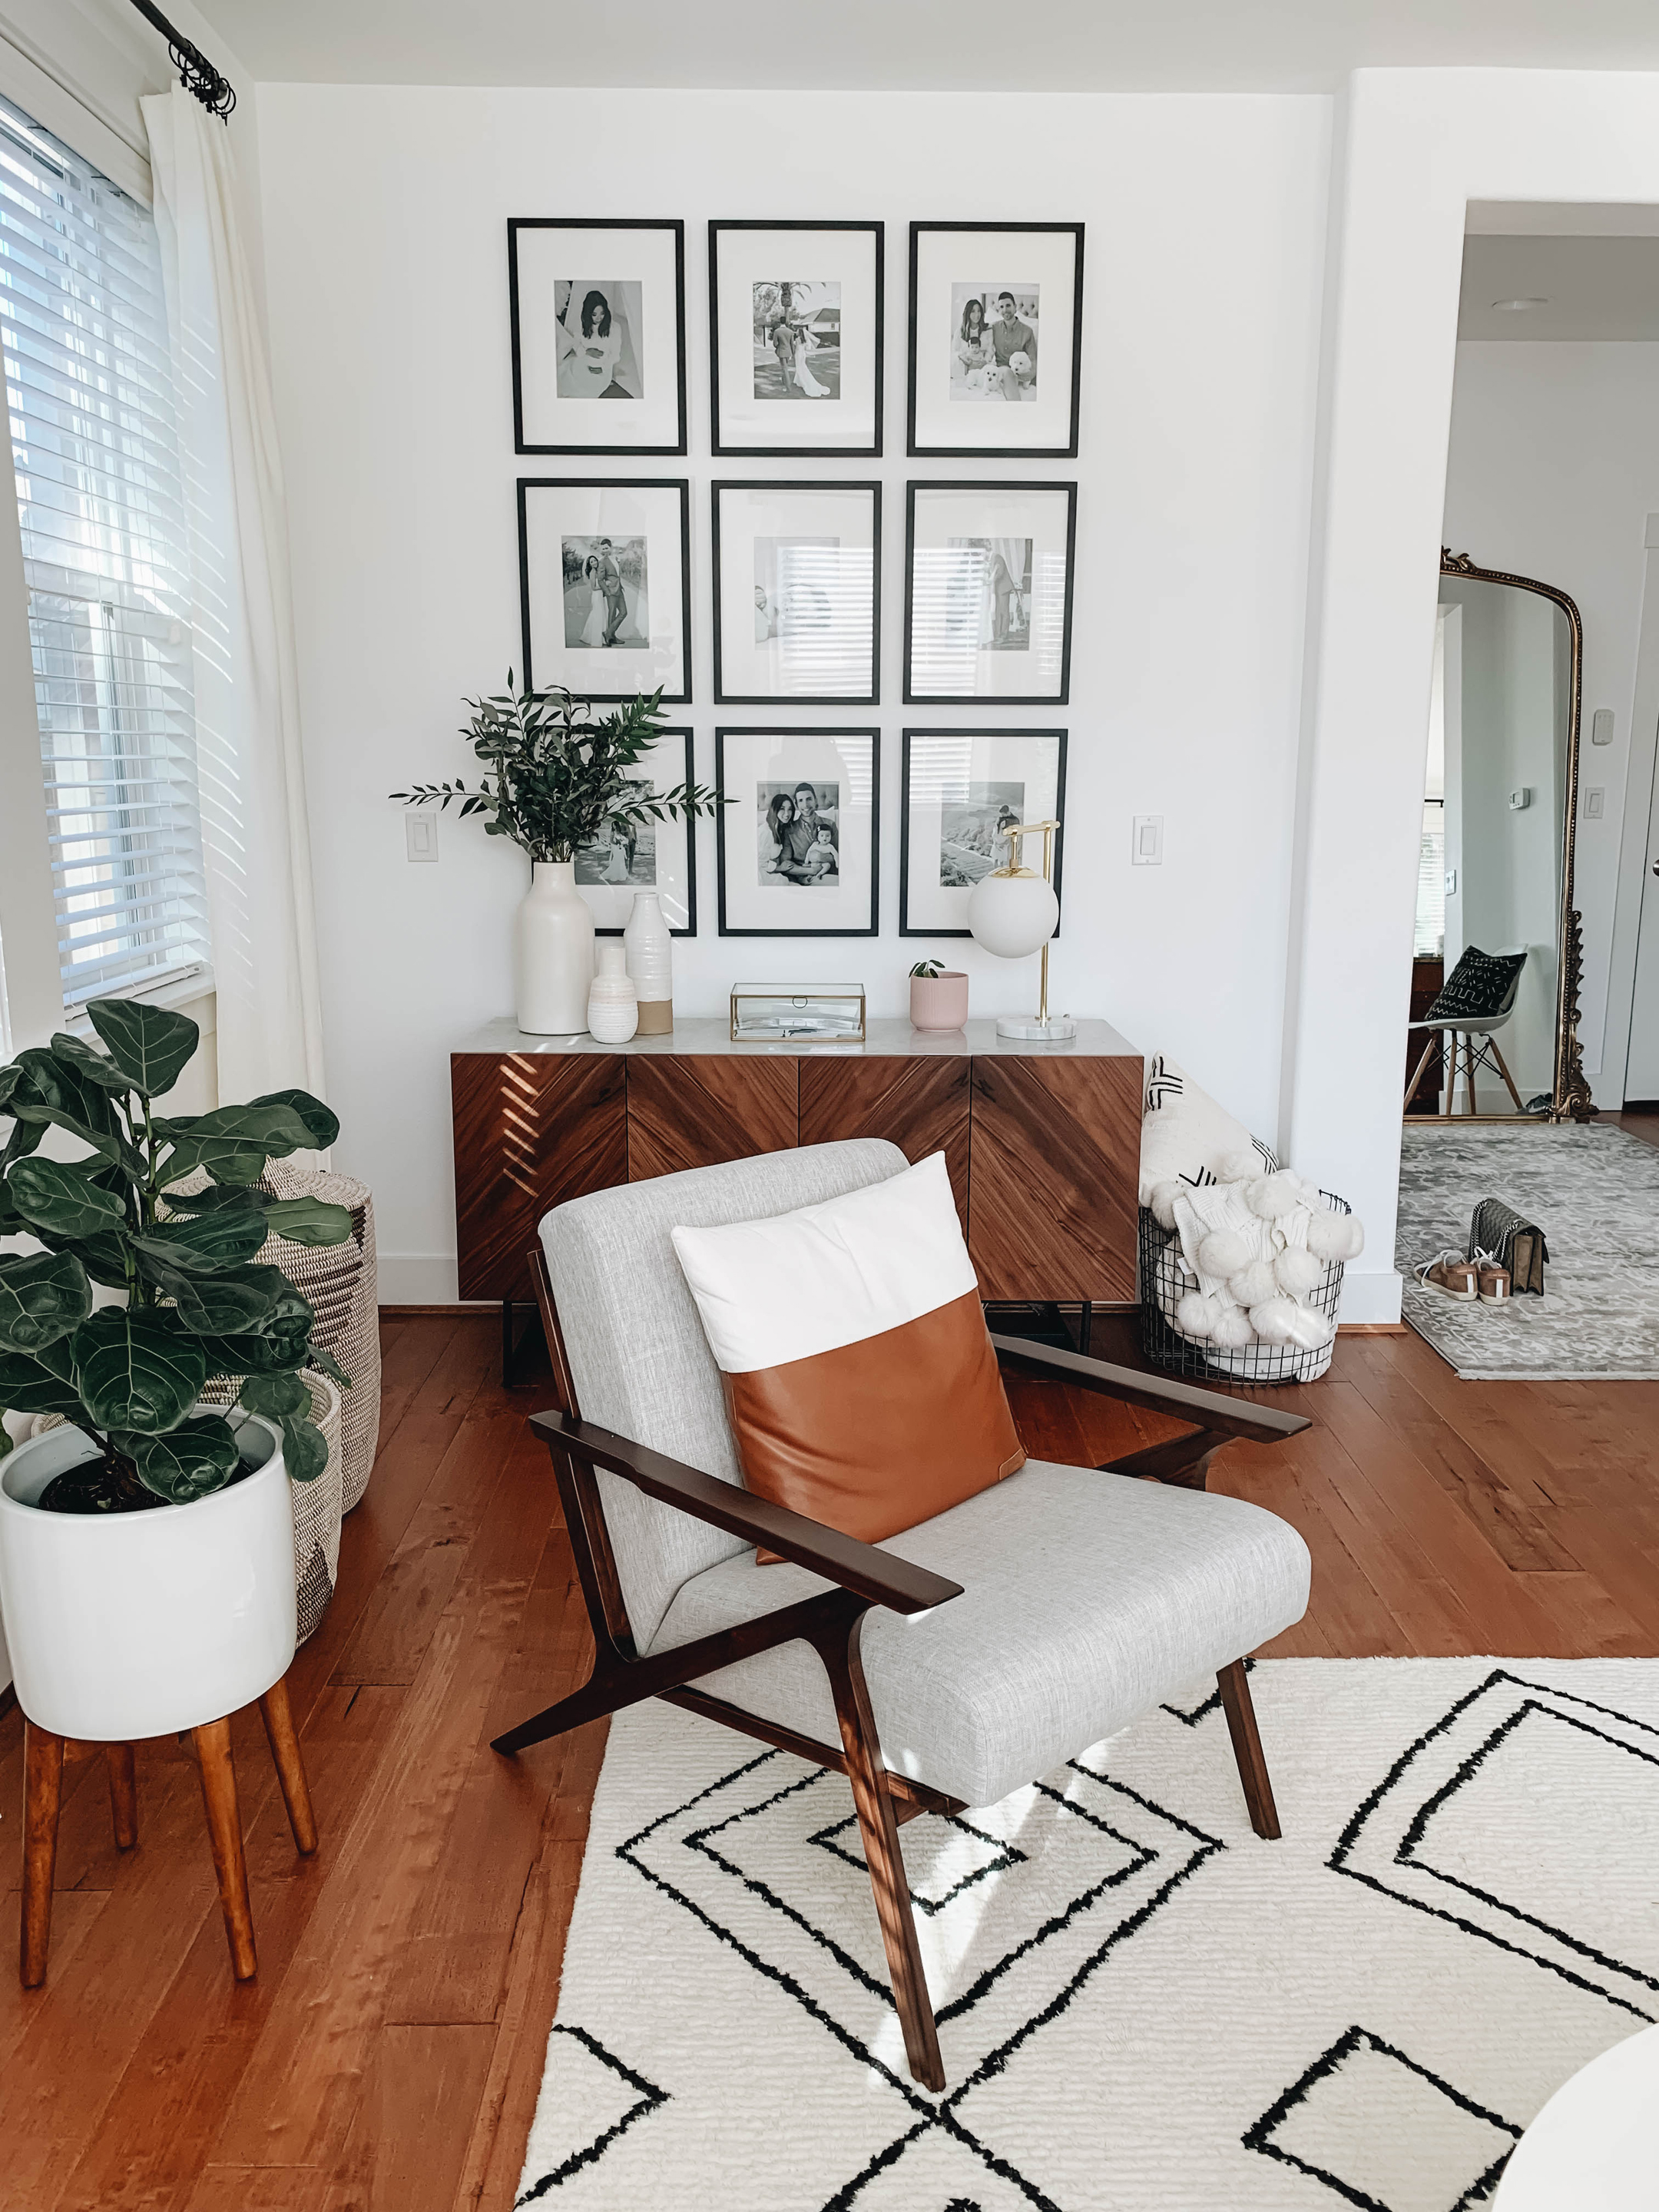
Here is our photo gallery wall that we placed above our gorgeous and affordance mid-century modern dresser – let me know what you think! Ok let’s get to it…
LOCATION

First thing is first, where are you putting this gallery wall? For us, we just got a new dresser and there was a lot of space above it. We already have a full length mirror in our room so we (really just me lol) decided we were going to put the gallery wall above the dresser. A few other areas you can display your gallery wall are: entryway, hallway, above couch/bed/desk/dresser, blank wall with no other decor (floor to ceiling gallery), hm where else…oh! above a console in your living room. The world is your oyster when it comes to this gallery wall. Put it wherever it makes your heart the happiest.
LEVELING & MEASURING
Whether you’re mounting frames to the wall or mounting floating shelves to put frames on, you’ll need a leveling and measuring tool so that everything is even and nothing looks off. If you have all of the measuring tools you need, skip to the next section.
Use a laser level to mount the frames or shelves straight.
Use a measuring tape to space the frames out evenly.
If you need a 2 in 1 leveling and measuring tape, check out this one.
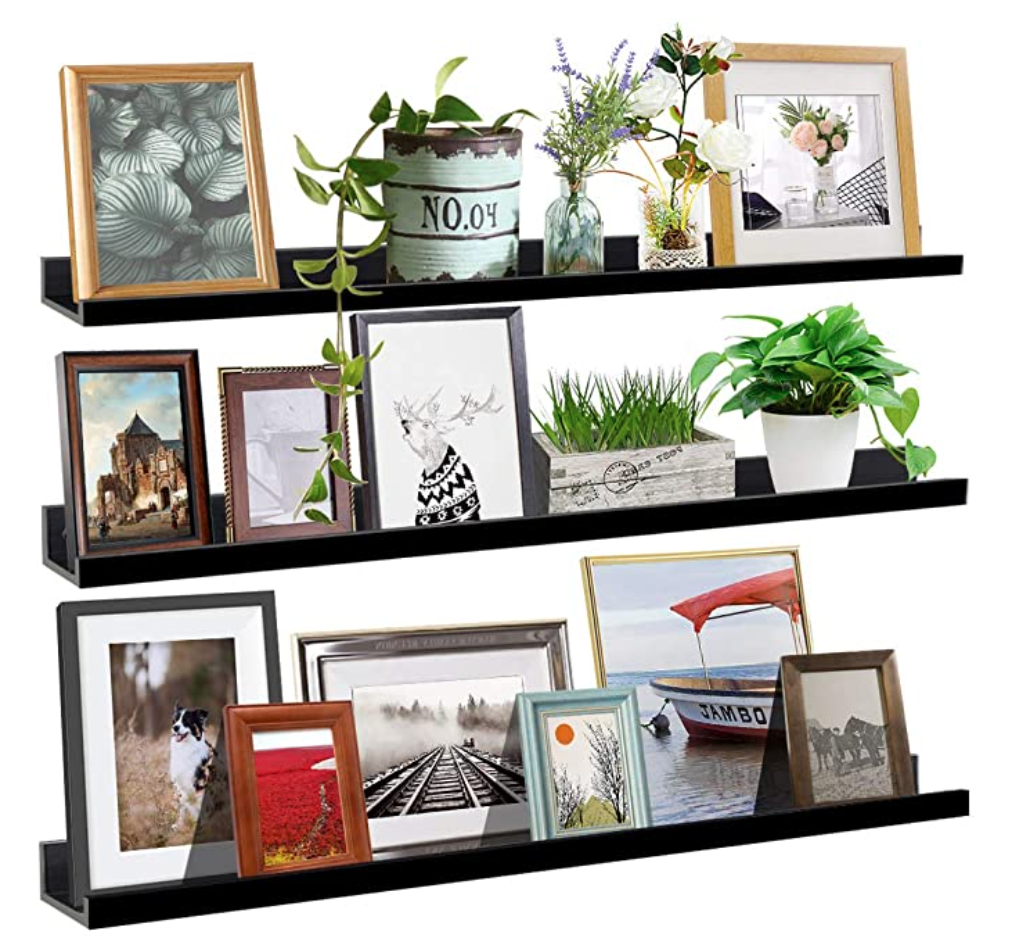
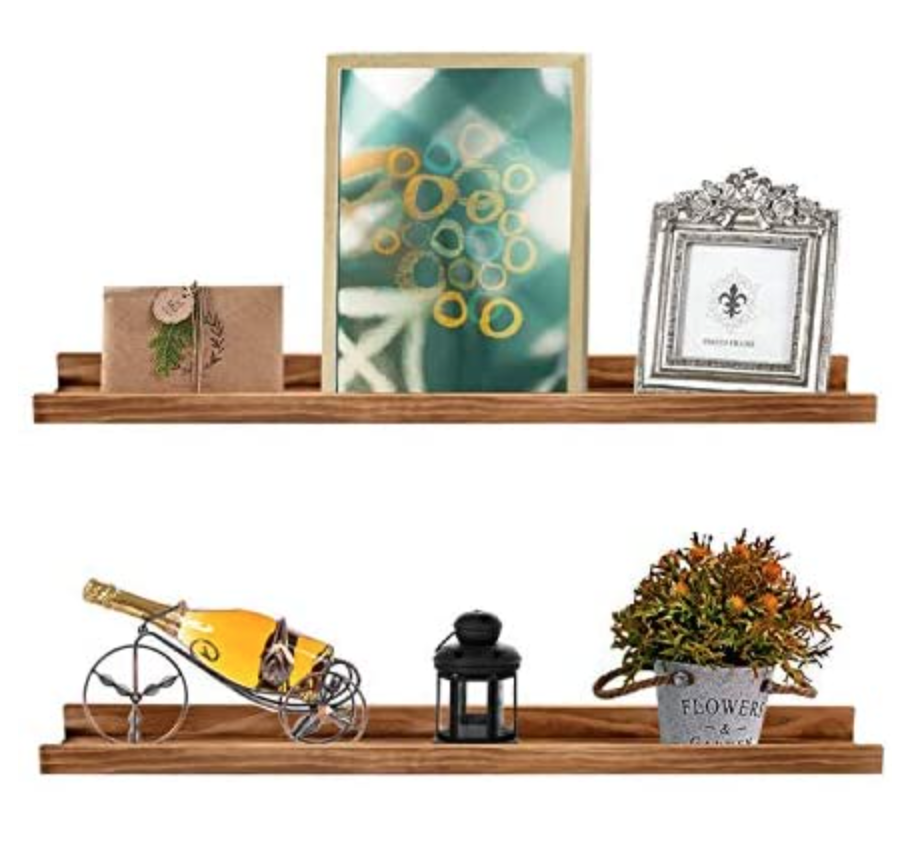
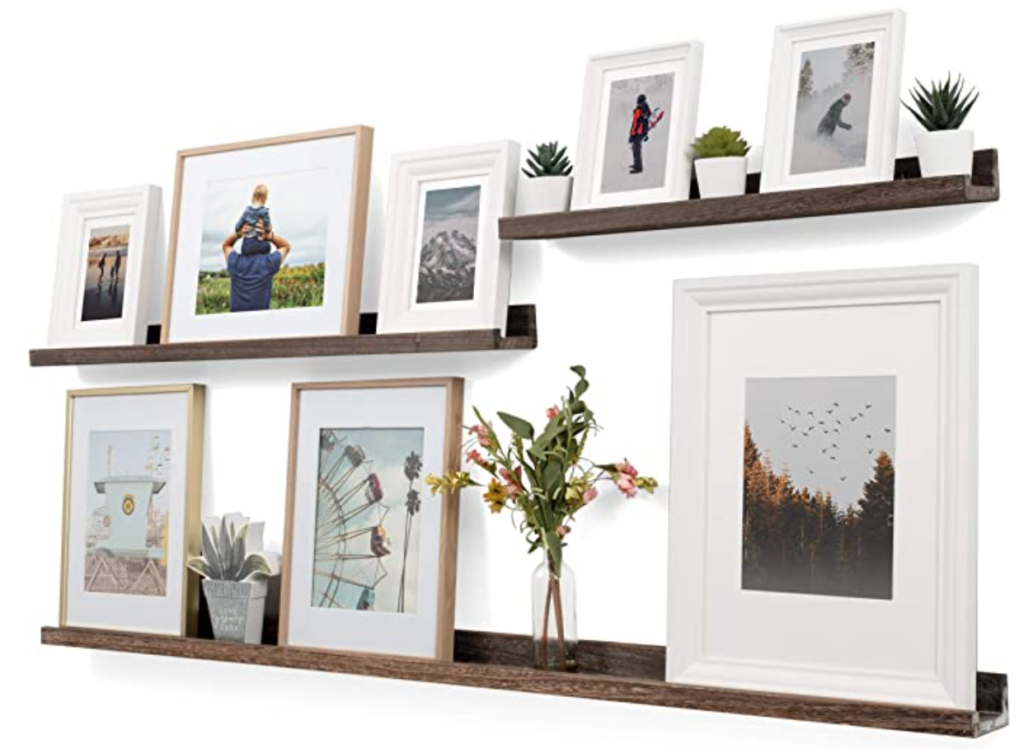
WALL MOUNTED VS. FLOATING SHELVES
If you plan on mounting the frames to the wall, skip to the next section. If you plan on mounting floating shelves and displaying your photo gallery wall by way of placing the frames on the shelves, keep reading.
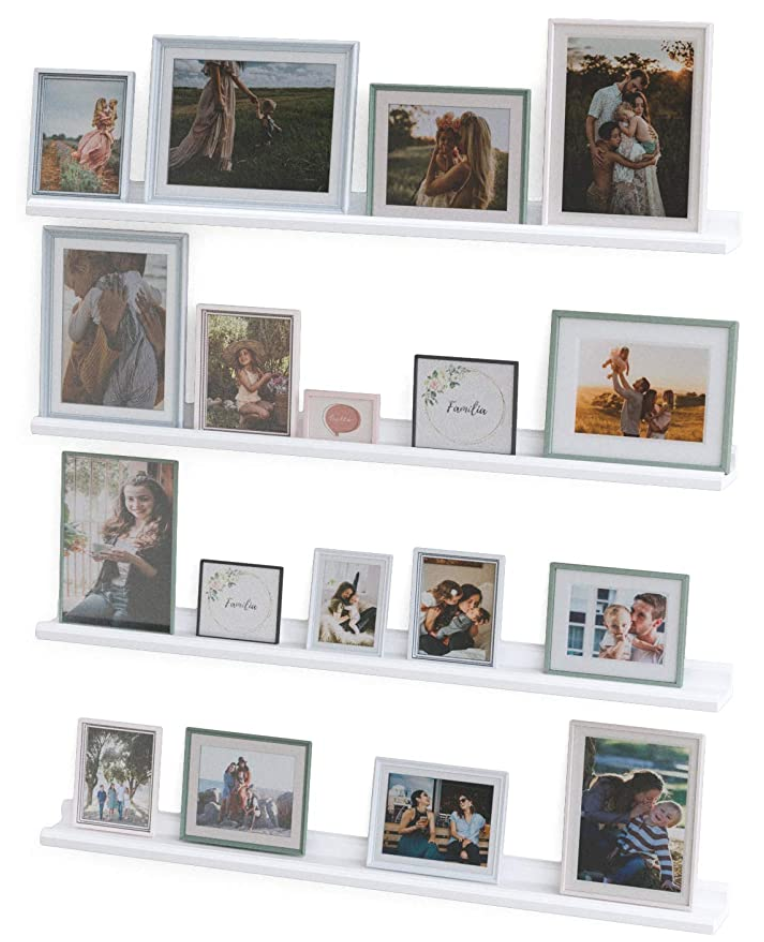
There are many different types of floating shelves and it really depends on what style you’re looking for. I researched floating shelves for about an hour and honestly, Amazon had the best options. Here are a few different style shelves from Amazon…

BUYING THE FRAMES
Ok I don’t think it’s any surprise that there are literally endless frames on the internet. This may seem obvious but…make sure that the frames you plan to buy will fit in your desired gallery space. Here are the ones that caught my eye. I tried to include a few different styles in here…
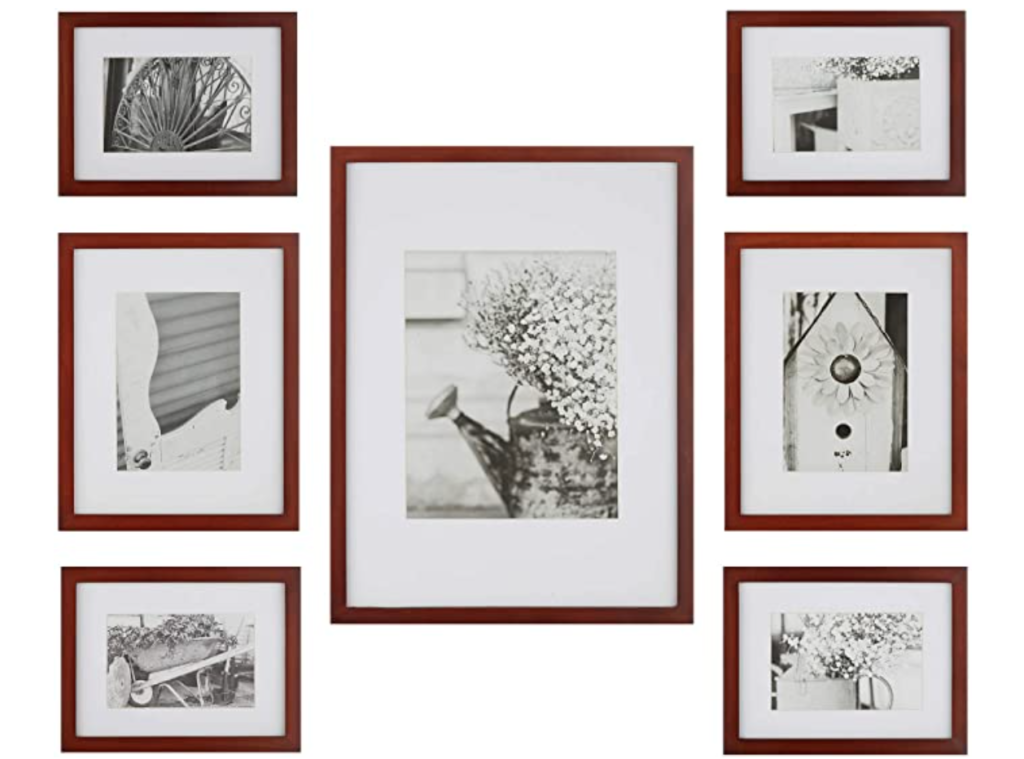
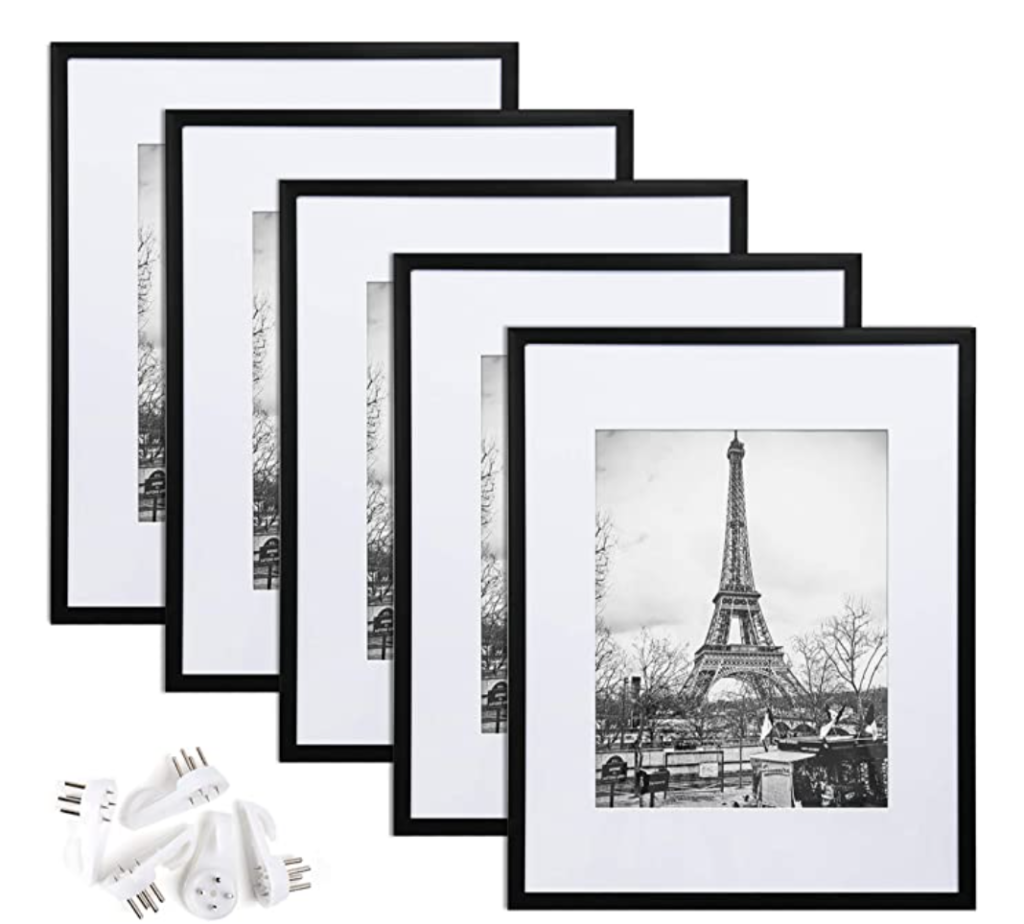
This classic, versatile, and AFFORDABLE set of 7 frames from Amazon. This set is available in gold, black, and silver.

This frame set is the same as the above except it has wood as an available color.
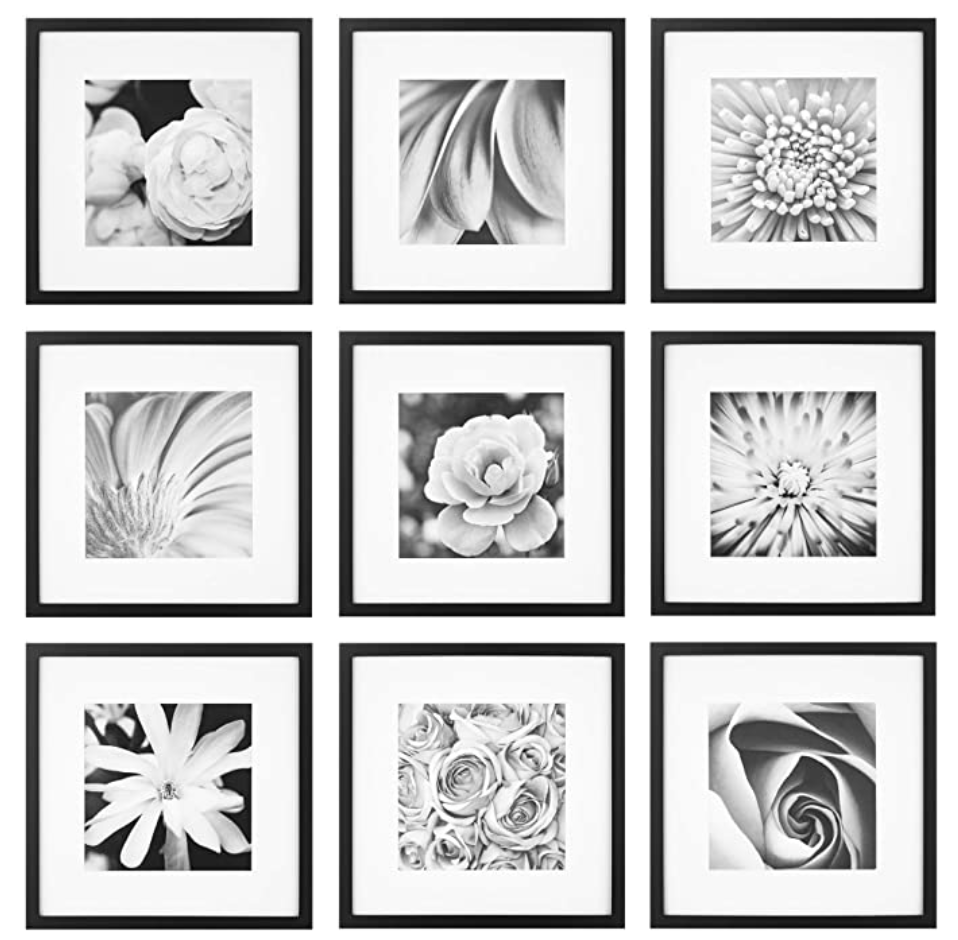
This square set is perfect for a uniform look and comes in three different colors.
These Crate & Barrel frames are a splurge but the design and colors are AMAZING.
These Wayfair frames are affordable, versatile, and oh so many color options. We love to see it.
Huge frames, yes please.
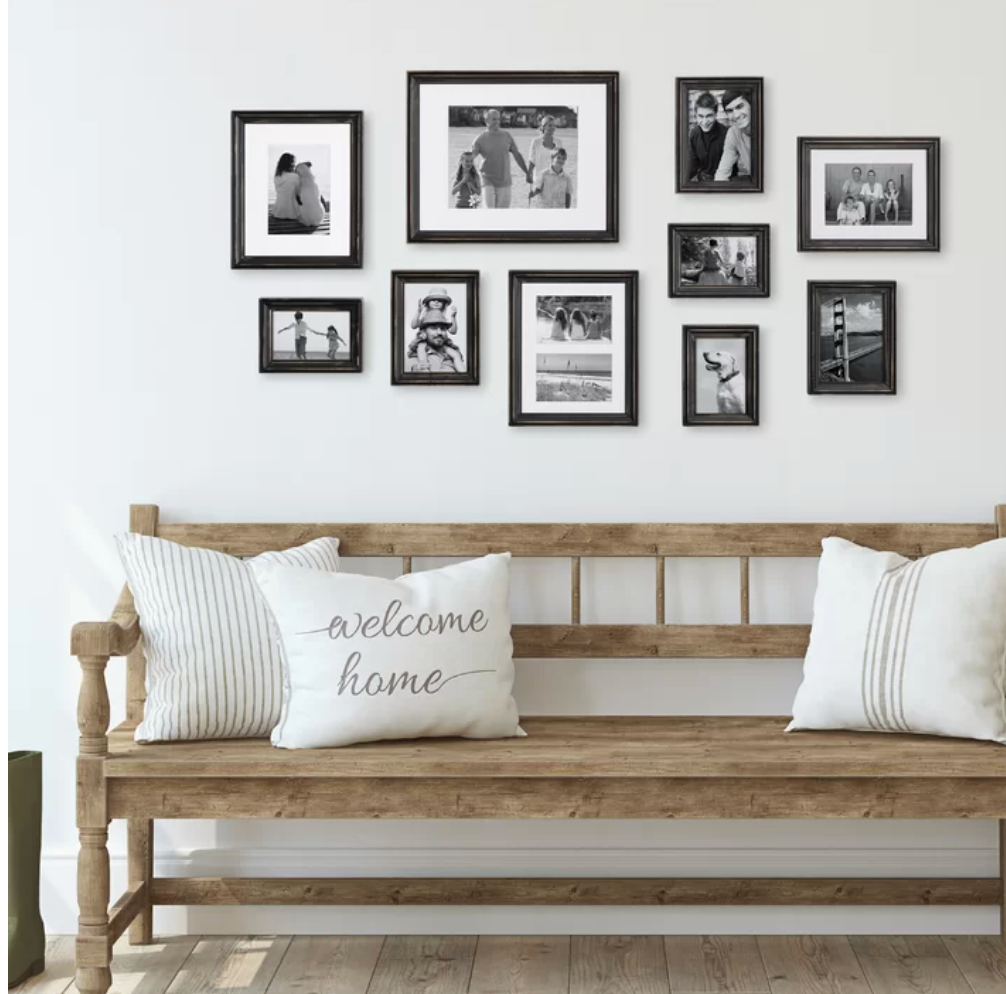
Ok THIS SET is also super cool because it’s assorted colors and sizes. Spice it up a little bit from your traditional gallery wall!

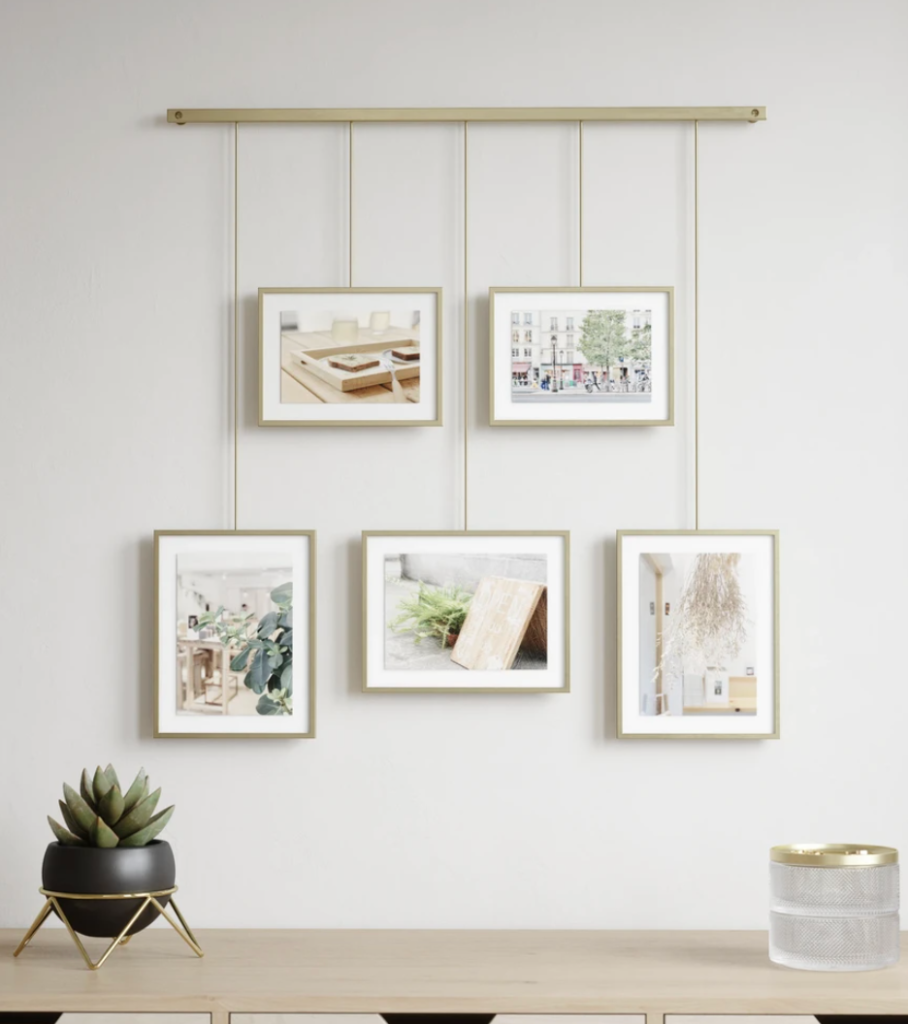
Talk about spicing things up. This Beam gallery provides a new way to display your photos.
Last but not least…MIXTILES. If you haven’t heard of Mixtiles, now you have. Mixtiles turns your photos into wall art and is a great way to kill two birds with one stone and not have to worry about buying frames and photos separately. Oh and the frames are damage free.
ORDERING THE PHOTOS
Ok you have your frames picked out, now what? Photo time! I have used a few different places to get my photos printed but my favorite sites are below:
Mpix: affordable and high quality
Snapfish: budget friendly
Nations Photo Lab: best quality for bigger photos and portraits
Printique: most versatile and customizable
PUTTING IT ALL TOGETHER
Once you have your frames in your house and your photos in your frames (did I say that right?), play around with them on the floor! Move and shuffle the frames until it feels right and you have your desired look, photo order, and spacing.
Now, start marking where the photos will go on the wall, use your level to keep everything straight, and your measuring tape to keep everything evenly spaced out, and hang those photos baby! Boom…photo gallery wall complete.
Did this help?! I hope this helped! Like I said I’m starting our gallery wall next week and will report back with photos and any tips/tricks once it’s done. Do you already have a gallery wall in your home? If not, do you want one? Let me know in the comments!
And since it’s Friday, here’s a plug for my Bourbon Honey Lemon Rosemary Cocktail. DO IT.